Table of Contents Overview Ultimate Auction Pro Auctions Made Easy for WooCommerce Auctions for WooCommerce…
How to Install WordPress on Localhost: Step-by-Step Guide
Table of Contents
- Overview
- What You Need
- Step 1: Download and Install XAMPP/WAMP/MAMP
- Step 2: Create a Database for WordPress
- Step 3: Download WordPress
- Step 4: Move WordPress Files to the Local Server
- Step 5: Run the WordPress Installation
- Step 6: Configure Your WordPress Site
- Step 7: Log In to WordPress
- Need Professional WordPress Website Development?
- Conclusion
- FAQ
Overview
Are you looking to install WordPress on your computer for testing, development, or learning purposes? Installing WordPress on your localhost is a great way to set up a personal website or practice building with WordPress without needing a live server. In this guide, we’ll walk you through the entire process, step by step.
What You Need:
Before starting the installation process, here’s what you need:
- A computer (Windows, macOS, or Linux).
- A local server environment like XAMPP, WAMP, or MAMP.
- The latest version of WordPress.
- A web browser like Chrome or Firefox.
Let’s dive in!
Step 1: Download and Install XAMPP/WAMP/MAMP
First, you need a local server to run WordPress. XAMPP, WAMP, and MAMP are the most popular tools to set up a local server environment.
Once you’ve downloaded the right version for your operating system, install it by following the on-screen instructions.
After Installation:
- Launch your local server tool (XAMPP, WAMP, or MAMP).
- Make sure Apache and MySQL are running. These are the web server and database tools that WordPress needs to function.
Step 2: Create a Database for WordPress
Now that your local server is ready, it’s time to create a database for WordPress.
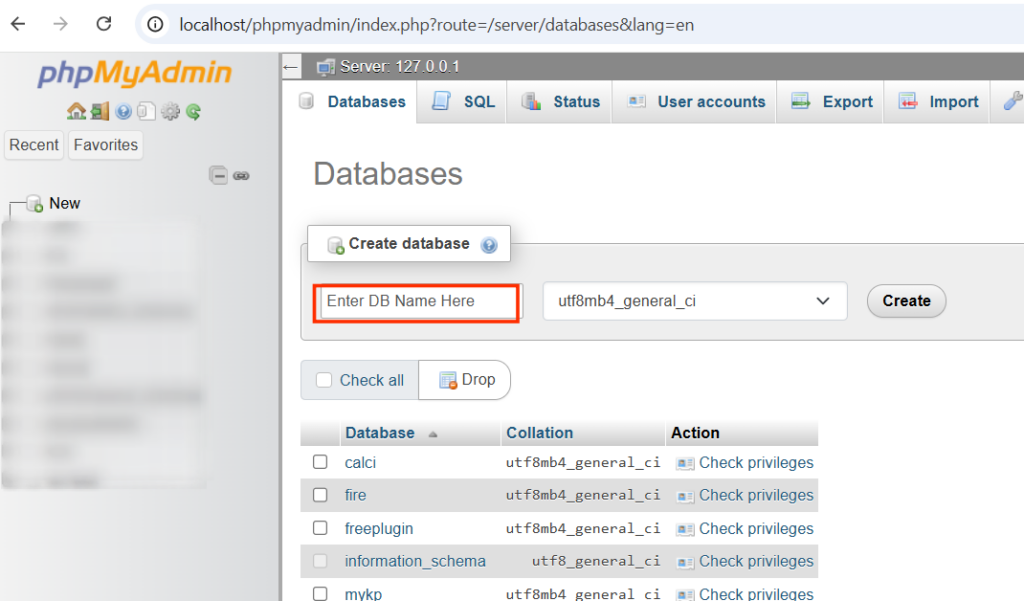
- Open your web browser and type localhost/phpmyadmin in the address bar. This will take you to the phpMyAdmin dashboard.
- Click on the Databases tab.
- In the “Create database” section, type a name for your new database (e.g.,
wordpress_db). - Click Create.
Step 3: Download WordPress
Now, it’s time to download WordPress.
- Go to the official WordPress website.
- Click Download WordPress to get the latest version as a .zip file.
- After downloading, unzip the file.
Step 4: Move WordPress Files to the Local Server
Next, move the extracted WordPress files to the appropriate directory on your local server.
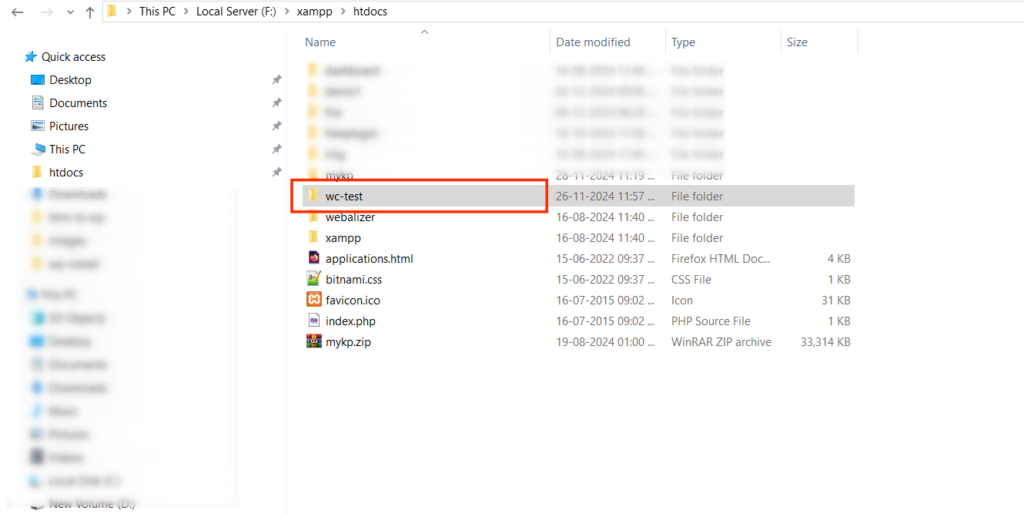
- For XAMPP: Navigate to the htdocs folder inside your XAMPP installation directory (usually located at
C:\xampp\htdocs). - For WAMP: Go to the www folder in your WAMP directory (typically
C:\wamp\www). - For MAMP: Go to the htdocs folder in your MAMP directory (usually
/Applications/MAMP/htdocs).
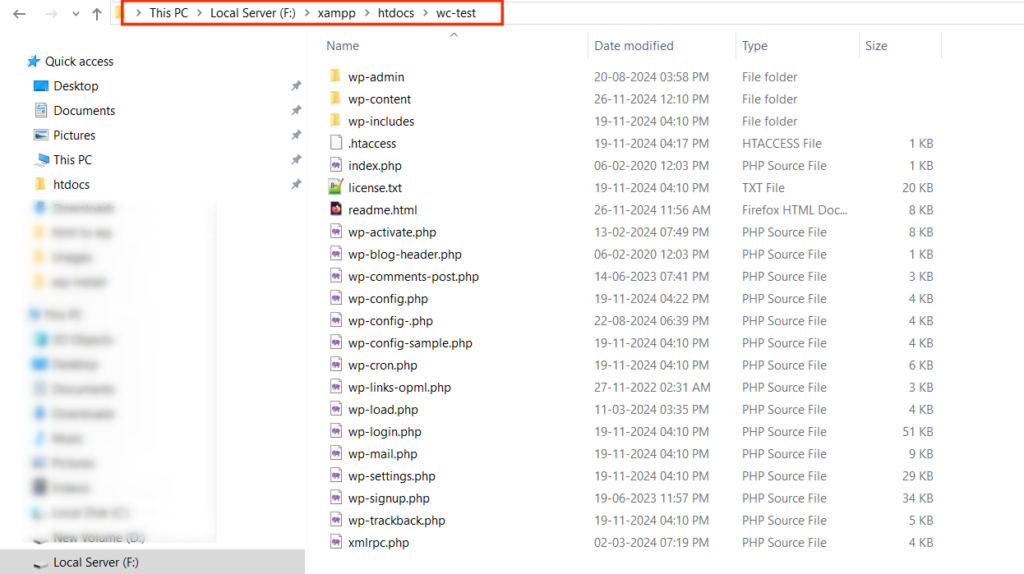
Create a folder inside the htdocs or www directory, and name it something like wc-test. Then, move all the unzipped WordPress files into this new folder.
Step 5: Run the WordPress Installation
Now, it’s time to start the installation process:
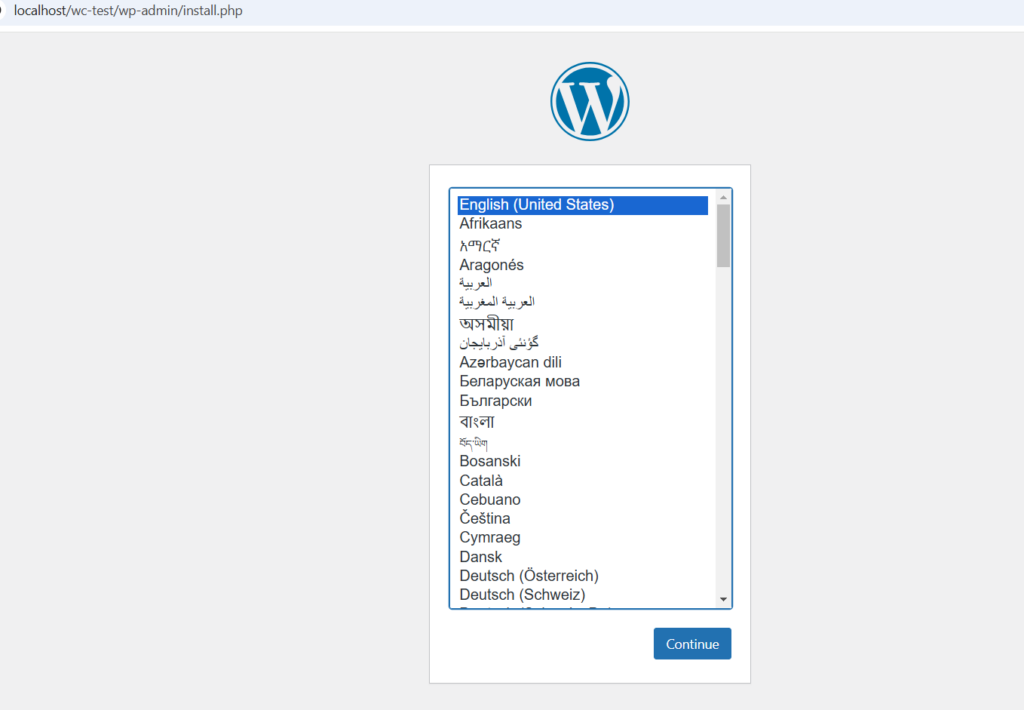
- Open your web browser and type localhost/wc-test(replace “wordpress_site” with whatever folder name you chose).
- You’ll see the WordPress setup screen. Choose your language and click Continue.
- On the next page, you’ll be asked to enter your database details:
- Database Name: The database name you created earlier (e.g.,
wordpress_db). - Username:
root(default for local server environments). - Password: Leave this blank (default for local server environments).
- Database Host:
localhost. - Table Prefix: You can leave this as
wp_unless you plan to install multiple WordPress sites.
- Database Name: The database name you created earlier (e.g.,
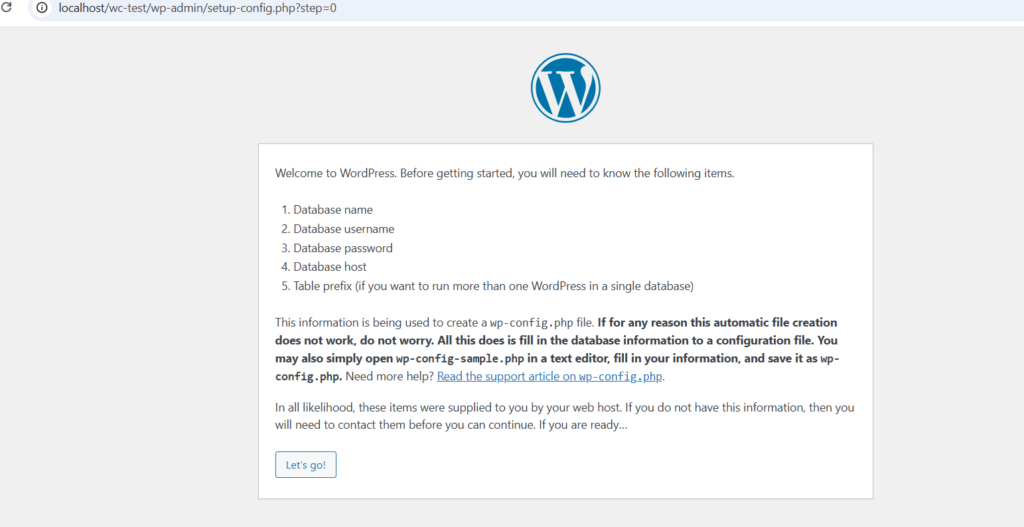
Click Submit, and then Run the Installation.
Step 6: Configure Your WordPress Site
Once you’ve run the installation, WordPress will ask you to configure your website.
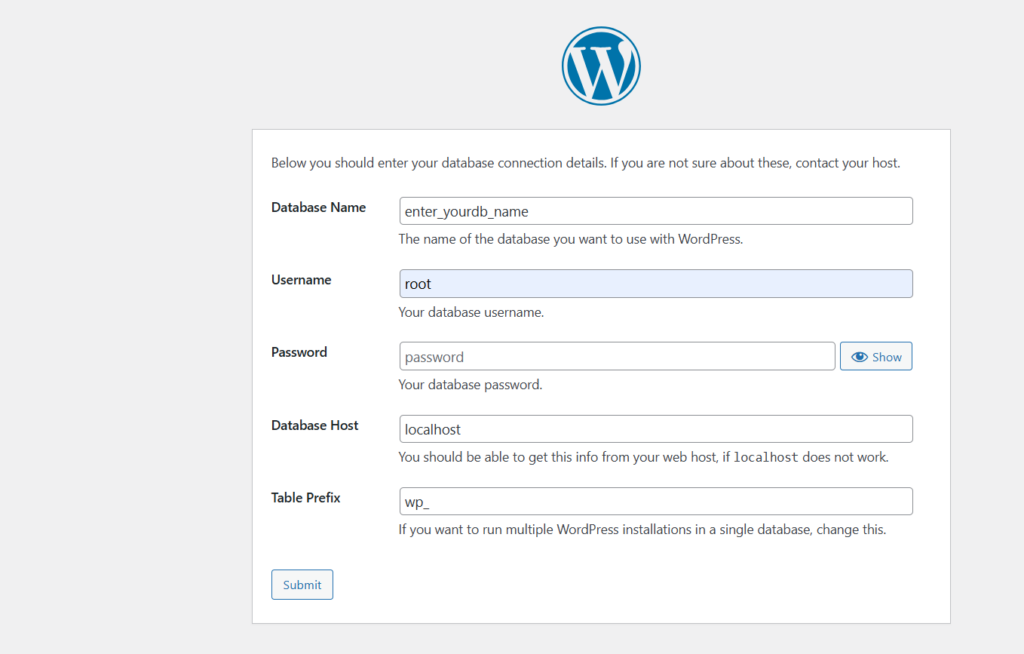
- Site Title: Choose a name for your website (e.g., “My Local WordPress Site”).
- Username: Choose a username for the admin account.
- Password: Create a strong password.
- Your Email: Enter your email address.
- Search Engine Visibility: You can leave this unchecked, as this is a local site for testing purposes.
Click Install WordPress.
Step 7: Log In to WordPress
After the installation is complete, you’ll see a success message. You can now log in to your WordPress dashboard by clicking the Log In button.
- Go to localhost/wc-test/wp-admin (replace “wordpress_site” with your folder name).
- Enter your admin username and password to access the WordPress dashboard.
Congratulations! You have successfully installed WordPress on your localhost.
Need Professional WordPress Website Development?
If you’re looking for a professional WordPress website, we are here to help! With over 10 years of experience in WordPress development, we specialize in creating stunning, responsive, and user-friendly websites tailored to your needs.
Whether you need a simple blog, a portfolio site, or a complex business website, we’ve got the expertise to bring your vision to life. Our team works closely with you to understand your requirements and deliver a website that meets your expectations.
Why Choose Us?
- 10+ Years of Experience in WordPress development.
- Custom Designs tailored to your brand.
- Mobile-Responsive websites.
- Fast, Secure, and SEO-Optimized websites.
- Ongoing Support for your website’s maintenance and growth.
Ready to get started? Contact us today for a free consultation and quote!
Click here to hire a WordPress developer.
We look forward to helping you build your dream website!
Conclusion
By following these steps, you now have a local WordPress website running on your computer. This is a great setup for learning WordPress, testing themes and plugins, or developing websites without affecting a live server.
If you’re ready to take your site live, all you need to do is move your site from your localhost to a live server with the help of a web hosting provider. But for now, enjoy exploring WordPress on your localhost!
FAQ
Can I install WordPress on my Mac or Windows PC?
Yes, WordPress can be installed on both Windows and macOS using local server tools like XAMPP, WAMP, or MAMP.
Can I move my local WordPress site to a live server?
Yes, once your WordPress site is ready, you can easily move it from localhost to a live server using migration tools or manual methods.
What is a localhost installation of WordPress?
A localhost installation means setting up WordPress on your own computer using a local server environment (like XAMPP, WAMP, or MAMP) instead of a live server.
Do I need internet access to install WordPress on localhost?
No, you only need internet access to download WordPress and the server software. After that, everything runs on your computer.




This Post Has 0 Comments